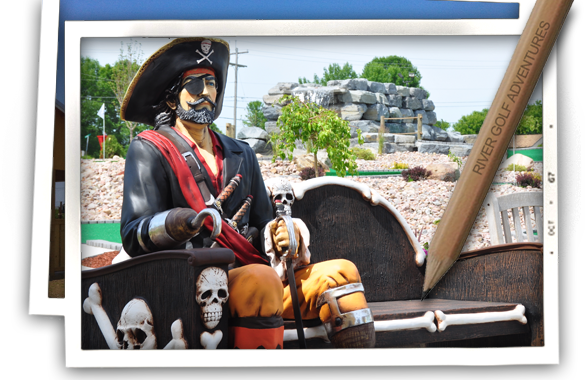
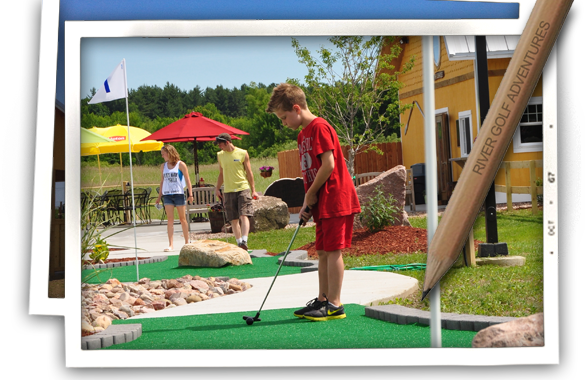
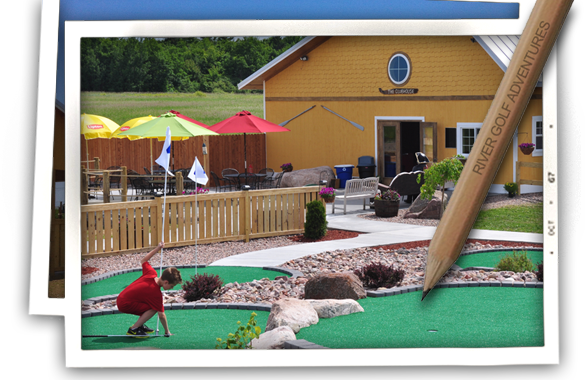
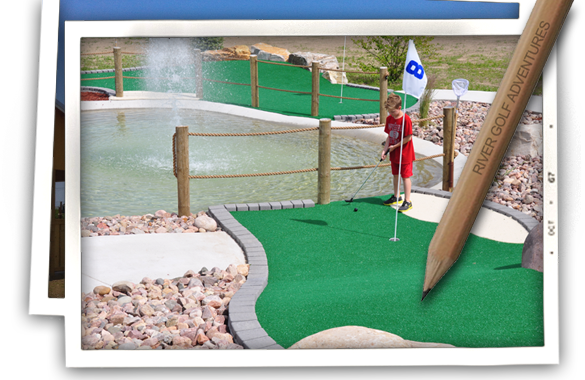
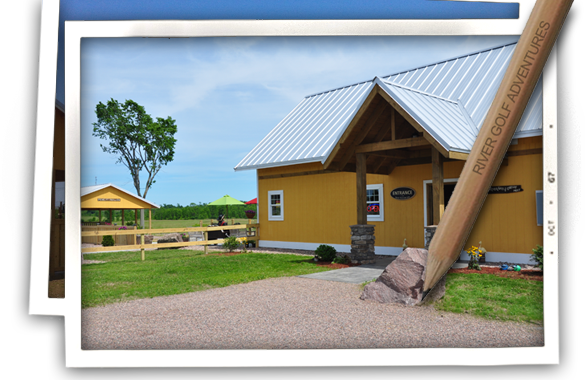
River Golf Adventures - Thousand Islands Clayton NY - Mini Golf
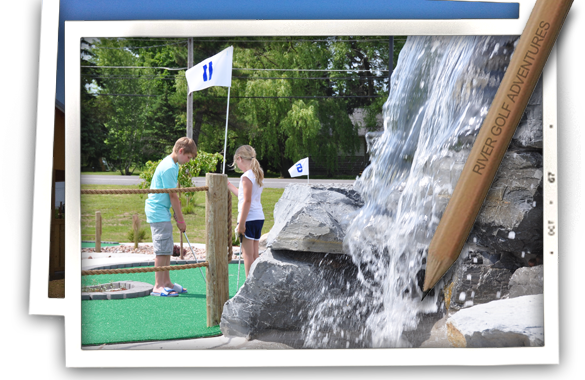
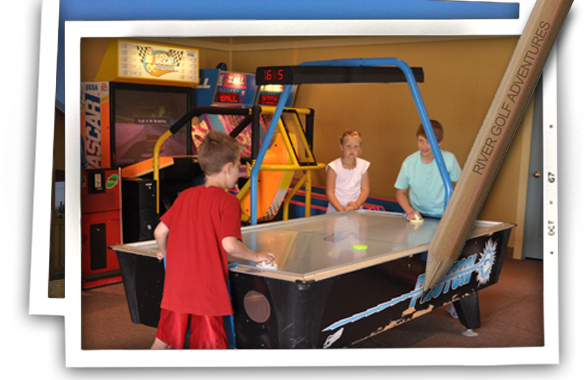
Mini Golf • Arcade • Snack Bar • Bumper Boats